![]()
Guess what! I have a super original project to share with you today. In my defense, these have been on my 33 Before 34 list since January.
Here’s what you might need, should you choose to follow my advice over other, more competent crafters on the Internet.
- Fake pumpkins
- Glitter
- Mod Podge (I used the glittery kind for extra oomph)
- Sponge brush
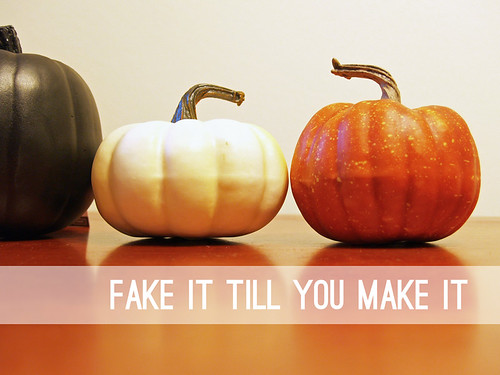
True story: I rounded up these pumpkins at Target back in September, when fake pumpkins were plentiful and available at various price points around the store. I think the black one was $3, the white one $2 and the orange one hanging out in the Dollar Spot. I would say you could run to Target today for a last-minute holiday project, but considering it looked like the Halloween section was ransacked by wild wolves on Saturday, you might run into supply issues.
Why fake pumpkins? I am currently trying to amass a decoration box that consists of more than a hollow pumpkin and two glow-in-the-dark spiders. But by all means, decorate your real pumpkins with gusto!
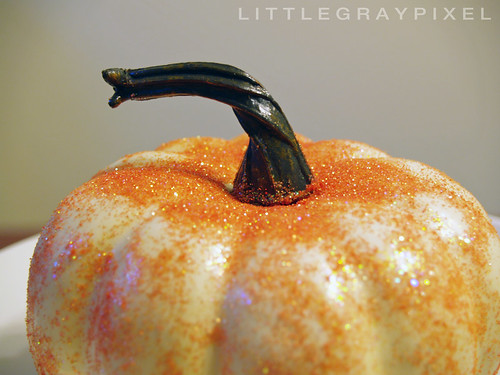
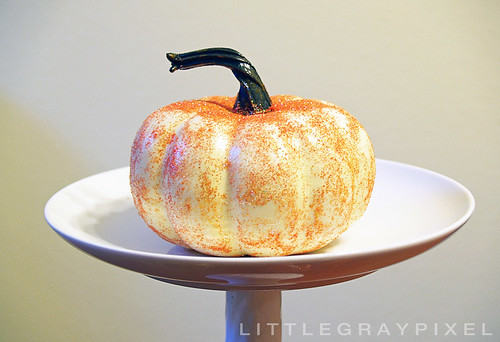
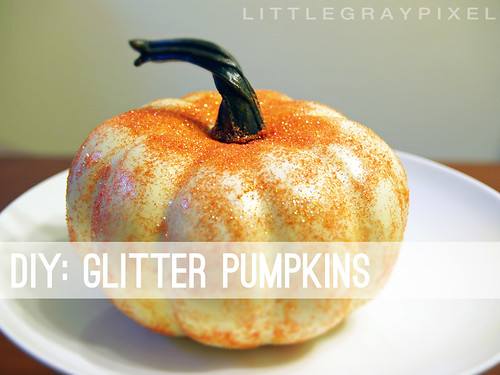
I applied a different technique to each pumpkin. The white pumpkin got a thorough coat all the way around of glitter+Mod Podge. Then I dumped a good bit of glitter directly on top, shook off the excess and let it sit for awhile before applying a top coat of Mod Podge to seal.
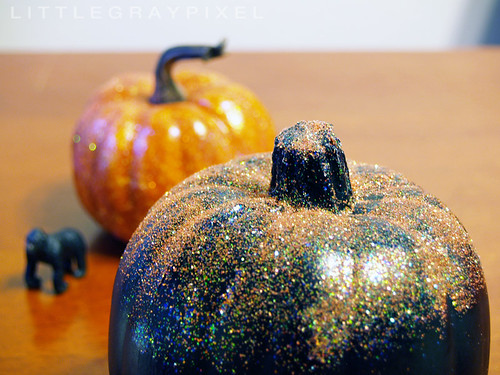
The black pumpkin is half-glittered, thickly. Three coats of glitter+Mod Podge.
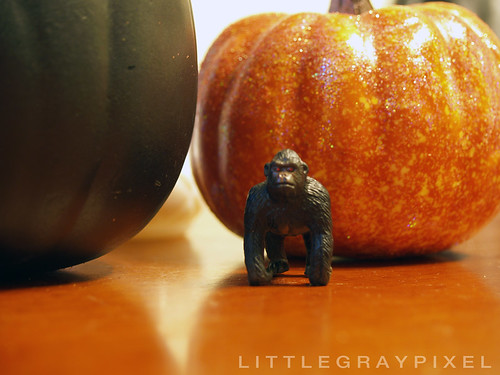
The orange pumpkin is lightly coated all around for a more shimmery, less glittery effect.
I tend to like the lighter glitter effect than a hugely glittered pumpkin. By the way, I bought one of those hugely glittered pumpkins at Target, and good grief does it shed. In contrast, my pumpkins do not shed at all!
May they last several more spook-tacular years.
