This post contains affiliate links. Read the full disclosure here
Recently I received an email that asked the question: “I was just wondering what your first few steps were to making this website happen?” How to start a design blog, indeed.
Oh, what a loaded question! If only this nice person knew what a long, twisted road it has been to get to the Little Gold Pixel you see today.
Lucky for you, I can sum up the process fairly easily and set you on a path to professional design blogging in about 10 minutes.
AND you can learn from my mistakes along the way.
Have you ever wanted to start a decor/design blog? Do you find yourself overwhelmed when thinking about where to start or how to stand out?
Don’t worry, I’ve got your back!
Read on, and I’ll get you set up on how to start a blog today.
How to Start a Design Blog
First, let’s go back to the very beginning. Kind of a cautionary story. But maybe a little bit of inspiration, because you do not have to go through all these steps.
When I first started blogging in the early 2000s, it was on a site called Diaryland, which I always mistyped “Dairyland.” Then I switched to Livejournal, which I always mistyped “Liverjournal.”
Mostly I wrote veiled accounts of my workday and weird/interesting stuff I noticed in my adventures. I made a lot of friends and even started a short-lived CD-swapping club (back in the days of burned MP3s!).
After these very private and anonymous personal blogs, I launched a free blog on Blogger, writing about my new Etsy business and everything under the sun that interested me. It wasn’t until I started to get serious about writing about graphic design and gallery wall art that I decided to make the leap to self-hosted WordPress.
So this is where I recommend you START. Self-hosted WordPress.org.
But how?
Step 1: Pick a domain name
This might be the lengthiest part of the entire process. How to choose a good name! One with longevity! One with oomph!
If I could go back in a time machine and change the name of my business/blog, would I? Perhaps. Although now it’s so much a part of me I can’t imagine naming my business something else.
Hindsight is 20/20, so make sure you are considering what you plan to write about when you choose a domain name. If you make a list of these topics, they could springboard ideas for your unique blog name.
Pro tip: The trend lately on how to start a blog is to use your own full name as a domain name, effectively making YOU the brand. The pros: If you choose to change the site’s focus, your name is always your name, so your site wouldn’t need a name change (if, say, you stop blogging about Scandinavian decor and start blogging about sci-fi novels). The cons: Your name is not going to have instant niche recognition without marketing.
Sites to help you come up with creative domain names:
- Lean Domain Search
- Wordoid
- Name Mesh
- Panabee
- Domain Fellow (oldie but goodie)
Step 2: Register Your Domain Name
Once you’re done with the brainstorming process and have a good list of domain names, head over to Bluehost to see if your favorite is available.
Yes, I know, everyone recommends Bluehost. The question is: Is it really that good? I can’t speak for everyone, but for me, starting self-hosted, yes.
It couldn’t be easier to navigate the site, and customer service is pretty swift, considering a few other companies I tried to reach out to didn’t even return my messages for days.
Pro tip #1: Call and speak to a human if you have questions. You might have to wait a few extra minutes, but you will get better service than via chat.
Pro tip #2: In the future, if your traffic is increasing exponentially, what a great problem to have! Be proactive and call Bluehost to discuss upgrading your account so you don’t experience any hosting disruptions on your site. I say this speaking from first-hand experience.
Step 2.5: Set up your hosting account
Next, create an account and sign up for the plan of your choice. Generally speaking, you will get a better deal the more months you purchase at a time. Don’t worry — if you cancel before the time is up, you’ll get a refund for the difference.
The Basic plan is a good deal for a fresh blog just getting started.
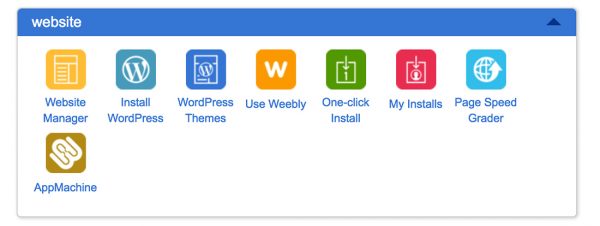
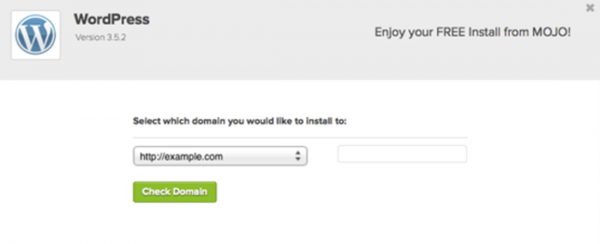
Step 3: Install WordPress
Installing is super simple once you log into your CPanel. Find the “website” module and click “Install WordPress.”
You’re going to start a brand new install. (This is where I’m jealous of you because I had to Import, and that was a liiiiittle bit more stressful.)
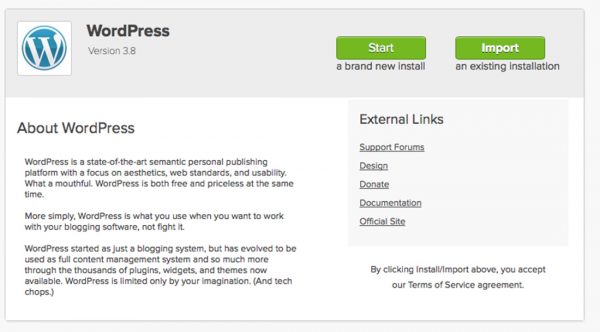
Choose where you want to install (should be the domain you just created).
Then you create your password. This is where you need to be smart. Make sure your admin username is NOT just “admin.” And make your password very difficult to guess. Make it as hard for hackers as possible, essentially.
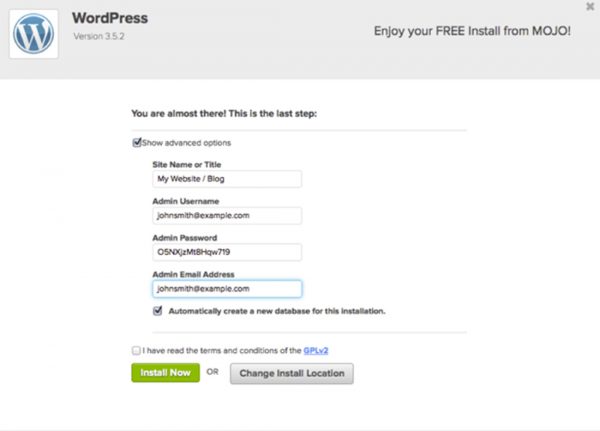
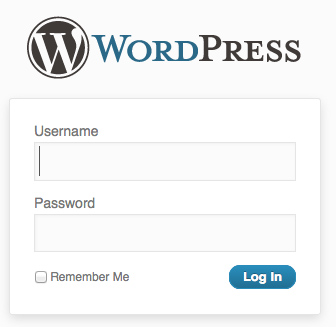
After you’re done with that install, you can use your credentials to get into the WordPress platform.
Step 4: Make It Yours
This next part is the most fun part of how to start a blog.
This is where you start creating content and choosing a theme to make your site truly look like YOUR site.
There are many capable free themes to choose from. I started with JustWrite.
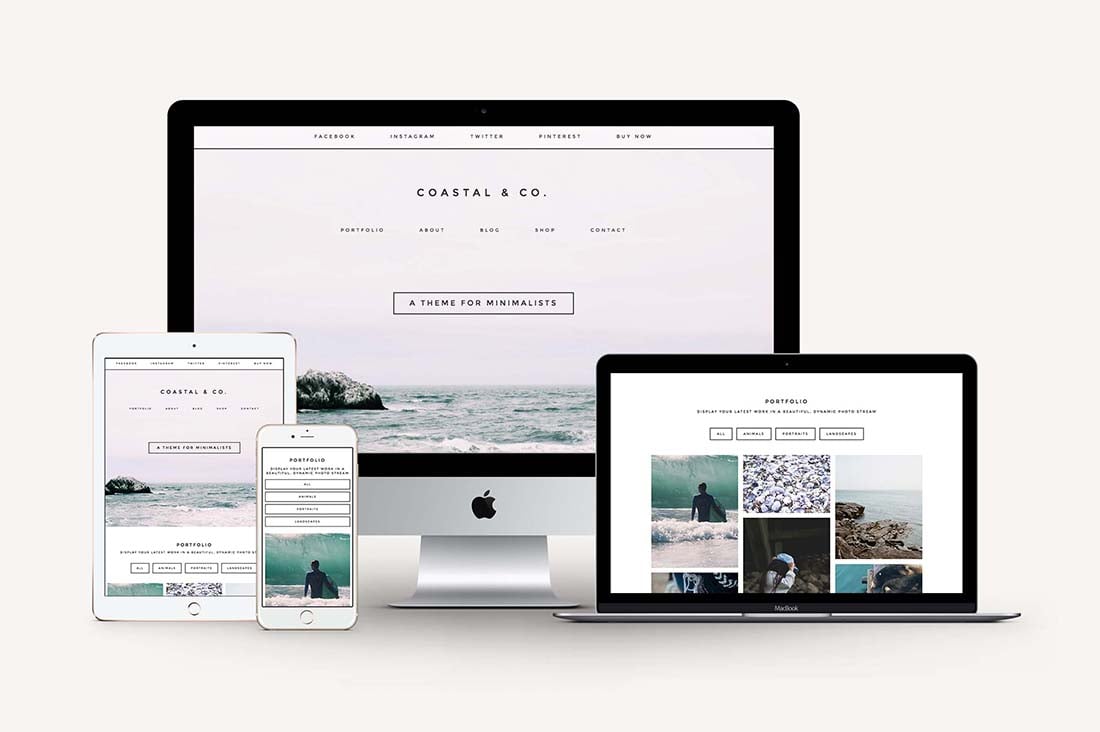
It is worth it to shop around, though, and find the perfect theme for your needs. I recommend checking out Creative Market and searching their library. Also, Station Seven is highly recommended for a minimal vibe that really helps design sites pop. My fave of their offerings is the Coastal Theme:
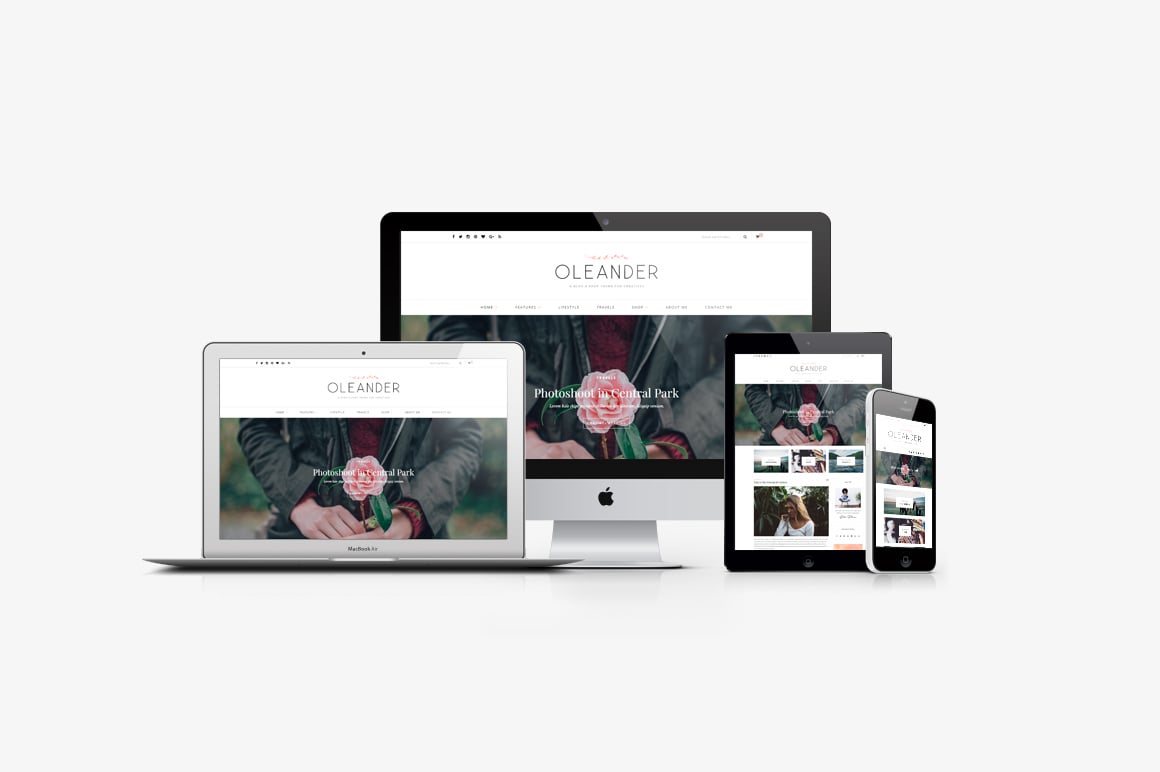
Right now, I’m rocking a theme by Solo Pine called Oleander. It’s been a lot of fun to customize, and I’ve also used Solo Pine’s Hickory theme in the past, so I can highly recommend this company, too.
Lastly, play around for a while and set up your virtual “home.”
Pro tip: Expect that there will be a learning curve if you’re never used WordPress before. You might get overwhelmed by all the bells and whistles. Give yourself time to figure it out. Some things may not be intuitive, but you’ll get used to it, I promise.
LOOK AT YOU — YOU HAVE A BLOG.
It’s really that simple. Yay, you!
Step 5: Rock It Out
A few places to find some inspiration for blog posts:
- 58 Topics for Your Design Blog
- 50 No Fluff Content-Rich Blog Post Ideas (plus 50 more)
- 51 Types of Blog Posts to Help You Grow Your Audience
Secret weapons to grow your audience + get an email list started + create beautiful blog graphics + generally be a bad-ass:
- Build an email list: ConvertKit + Thrive Leads
- Make great graphics: Adobe Creative Cloud + The Hungry JPEG + Creative Market + Skillshare + My Top 10 Design Tools to Boost Creativity w/PDF
- Find free resources: My Design Resources Page
Bookmark for later: