This is going to be one of those ultra meta posts, about a blog within a blog within … well, you get the point.
I’ve been putting together a blog identity mood board as I’ve transitioned to Little Gold Pixel, and I wanted to share the process with you in case you ever decide to redesign or rebrand.
This entire experience has been challenging. As I’ve mentioned before, WordPress was a sharp learning curve for me. It took weeks just to get this blog functional, let alone aesthetically pleasing. This coupled with my constant indecision, and you have one mixed-up blog ID.
I went about this the entirely wrong way, so you can learn a thing or two from my mistakes.
Luckily, after months of almost getting it kind of together (“Girls” catchphrase definitely applies here), I have a fully functioning style guide and mood board to remind me of the look and feel I’m going for.
Why a style guide? Everyone should strive for some kind of familiarity/continuity for their readers’ sake. Also, if you don’t create a style guide for this specific part of your online world, you risk letting other creative styles infiltrate willy-nilly. This is especially true if, like me, you design for another company 9-5.
How to Create a Blog Identity Mood Board
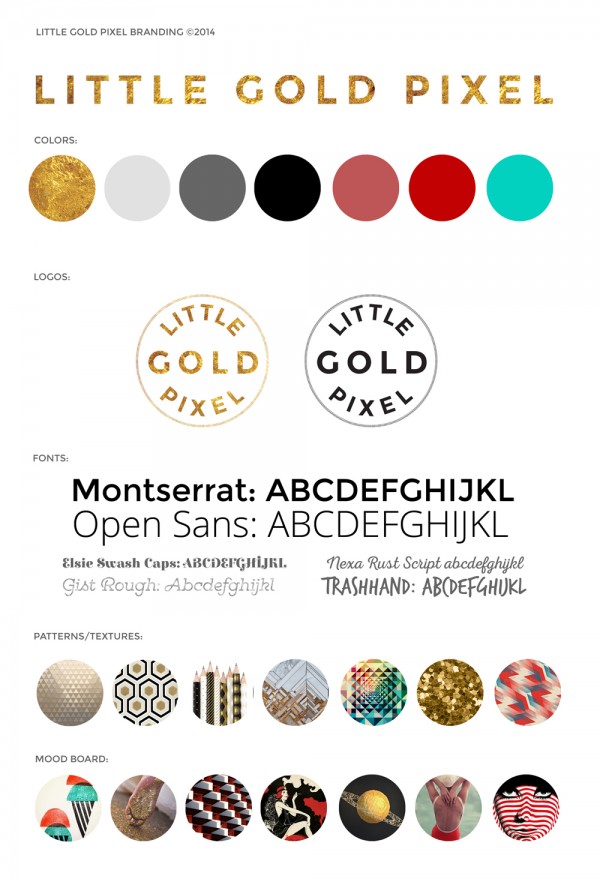
- Write five words to describe the feel you’re going for. In my case, the words were: bold, clean, retro, edgy, shiny
- Select a color palette. I always pick a color palette at the beginning because once that’s settled the rest will fall in line easily. I choose two main colors (in my case, gold and a muted red), plus a palette of neutrals (black + two shades of gray) and two rare accents (bright red and turquoise).
- Select fonts. I like to choose two main fonts (headline vs. text), and 2-4 accent fonts. This isn’t to say you can’t use other fonts should the situation arise, but these are your go-to fonts for almost every project. Tip: In between redesigns, changing your fonts is the quickest way to give your blog a new look/feel.
- Find inspiration. I search Pinterest for textures and photos and illustrations that “feel” right. This is something that can’t be taught. You have to go with your instincts on this. Do not worry about trying to make literal sense out of your inspiration. No one is grading you!
- Play around with your logo. (Or, if designing isn’t your strong suit, pass your mood board over to a professional at this point.) Typically I would play with the accent fonts more, and embellish as much as possible. At one point over the past several years, I drew my blog banner by hand. Just make sure to capture the vibe you’re going for. In my case, I wanted to focus on my five words to create a simple and powerful logo, and I’m pleased with the outcome. It has an art deco feel I’m simply wild about.
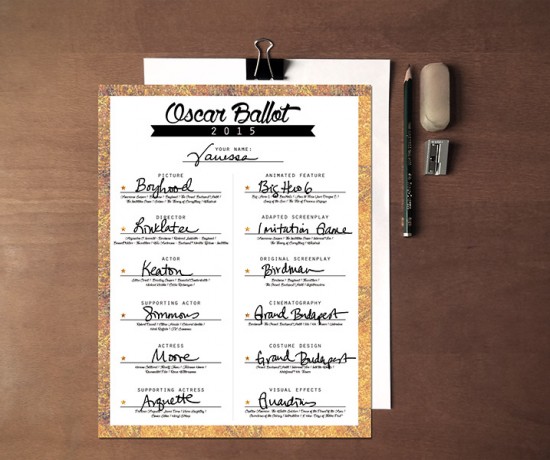
- Create additional elements with your mood in mind. For instance, take a look at my favorites section and notice how I’ve carried my red color palette through.
But wait, there’s more!
To get you started, I’d like to offer my blog identity mood board template to you as a freebie. It’s an 8.5×11 PSD file. If you need help figuring out how to merge your images, this clipping mask tutorial is easy to understand and works for both Photoshop and PSE.
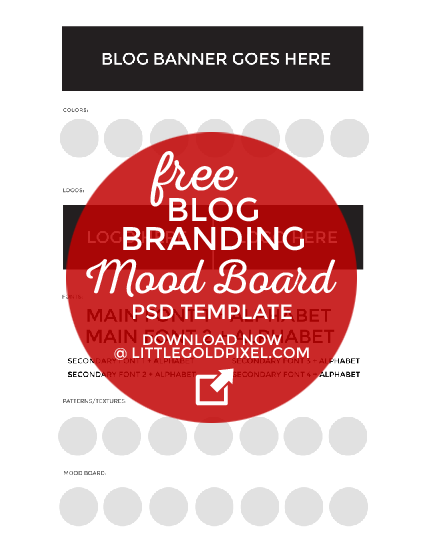
IMPORTANT: To download, click Download button + then click Download in the top right corner in Dropbox.
More Resources …
A few other mood board/collage freebies:
P.S. More freebies from Little Gold Pixel!