This post is sponsored by The Hungry JPEG, which I’m very excited about because this is a site I know and love for its amazing graphic design bundles and freebies. Check out the most recent monthly bundle, in which you get lots of fonts and graphics for only $29. Ah-maz-ing deals, my friends.
As I was making a free printable for you using the fonts and graphics in the Summer Design Bundle* I noticed something.
It was a challenge to choose just a few things in one design because there was so much cool stuff (nautical, floral, watercolors, garden, animals, etc.). Honestly it’s a wonder I ever get anything accomplished when I have so many tools.
Design accessories are much like fashion accessories, at least in this sense:
Once you’ve dressed, and before you leave the house, look in the mirror and take at least one thing off.
– Coco Chanel
I took at least 10 things off before I was happy with this design, wink wink.
Before I share the download link, though, I thought I’d share with you a little bit about how I used some of the graphics to create brushes and patterns in Photoshop.
*This deal has since expired. Check out the latest bundles on The Hungry JPEG.
Virginia Woolf Freebie: Photoshop Brush & Pattern Tutorial: Step One / Patterns
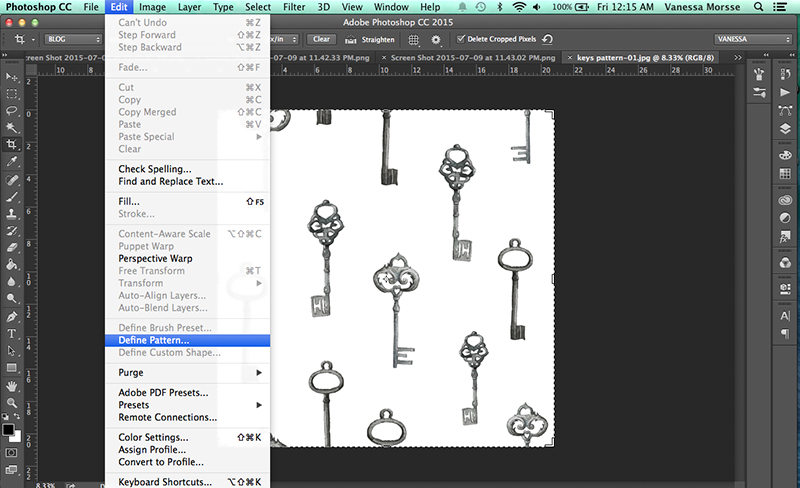
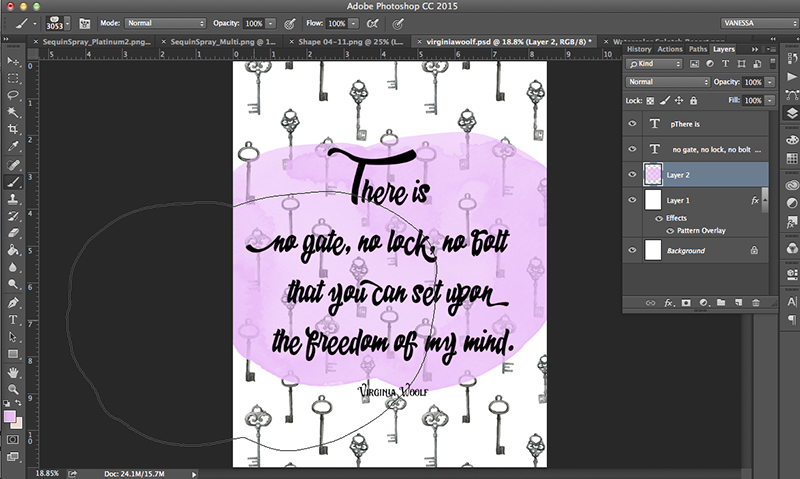
First I opened up the Secret Garden Key Pattern #1 in Photoshop and went to Define Pattern under the Edit panel.
Then I created a new layer, and clicked on the “fx” pull down at the bottom of the Layers panel to “add a layer style.”
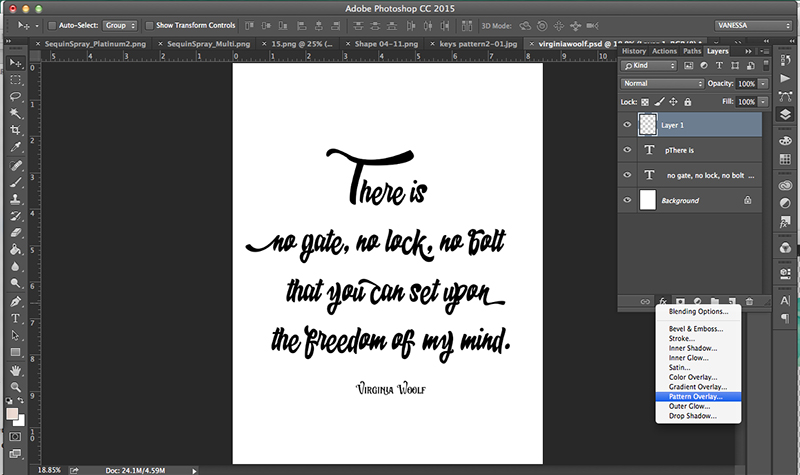
Under that menu I chose “Pattern Overlay.”
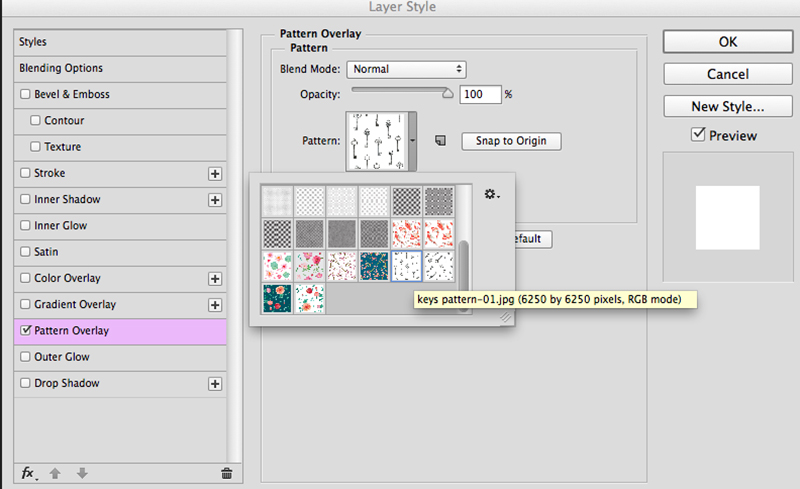
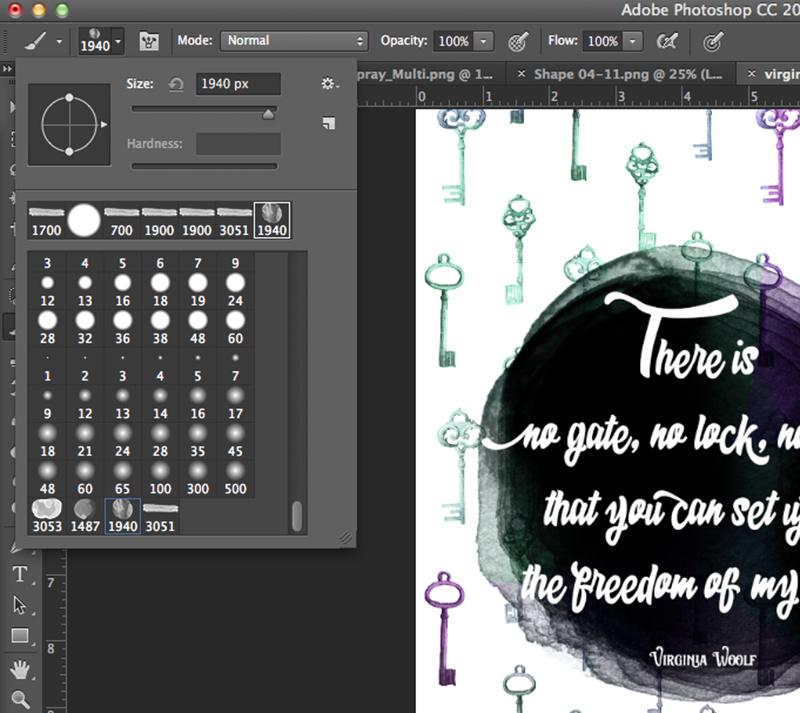
In the pop-up menu that follows, I chose the pattern I created. In this same pop-up, you can edit your blend mode, opacity and pattern size. Pattern size is key, as you can see below.
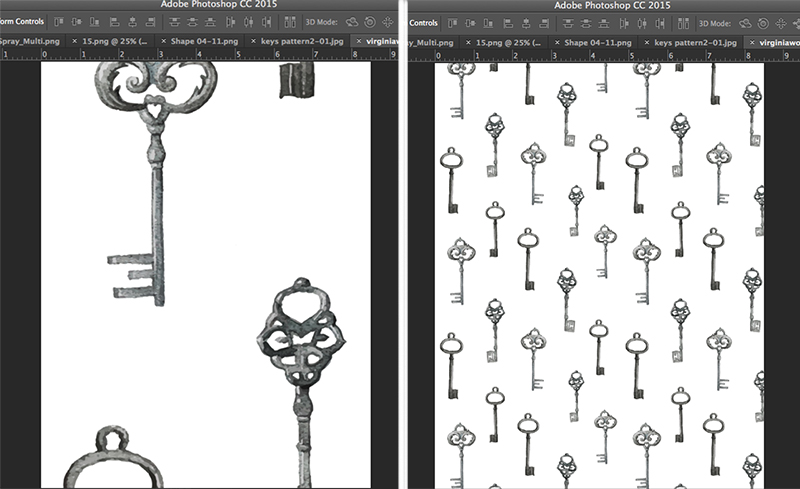
(Original pattern size vs. my final pattern size.)
Virginia Woolf Freebie + Photoshop Brush + Pattern Tutorial: Step two / Brushes
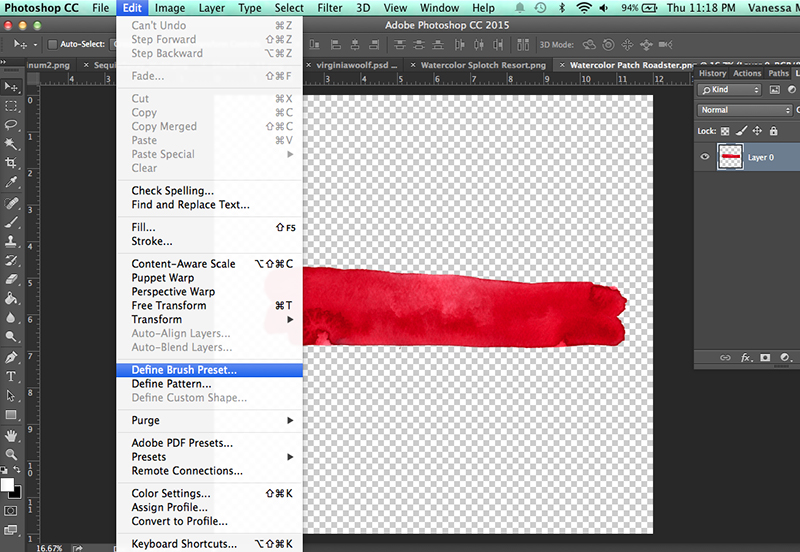
Just like with the patterns, I opened up a watercolor swash and opened the Edit panel. Instead of “Define Pattern,” though, I chose “Define Brush Preset.”
Going back to your original file, create a new layer and click on the brush tool. Under brush options, select the brush you just added. (Note: I started with a horizontal swatch but decided on a round watercolor brush later, in case you’re wondering.)
From there, select the brush color and play with size and opacity in your new layer. I chose to overlay several colors on top of one another for an ombre/gradient effect.
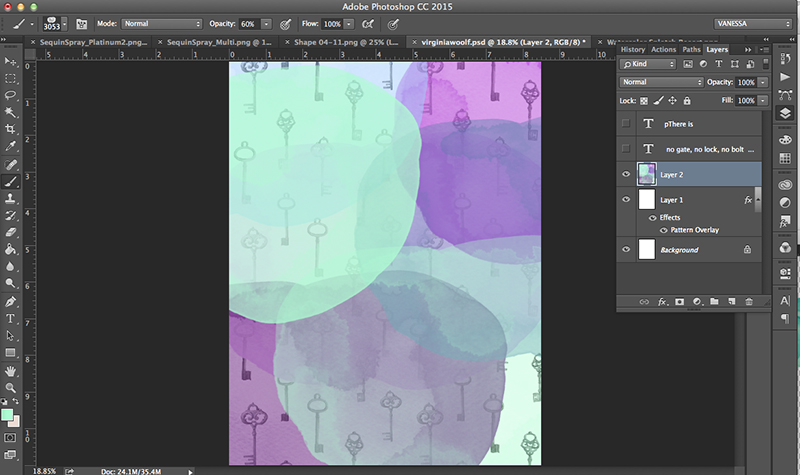
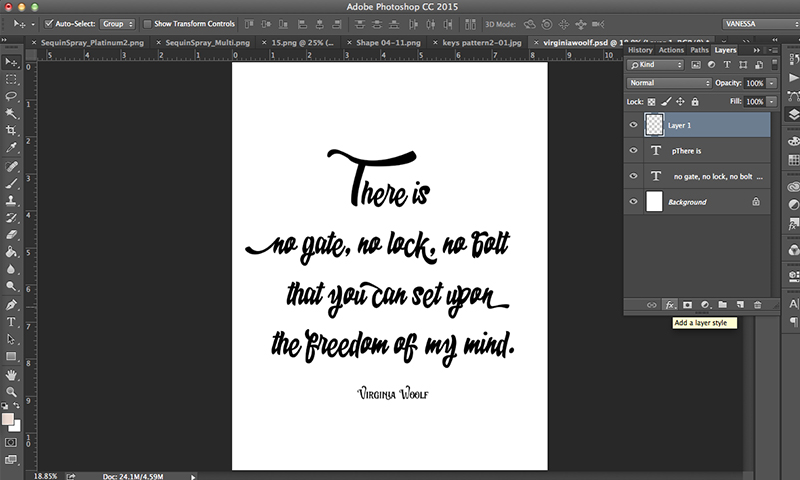
Sometimes it helps to turn off your other layers to focus on the one you’re working on. Here, I’ve turned off the text layers. When you’re happy with the layer, you can create overlays onto your patterns. Play with the layer setting (the default is “normal”) until you like the effect.

I chose the “color” effect for my design so the keys would take on the watercolor layer I created. To get the same effect inside the text, I copied the watercolor layer, moved it on top of the text layer, then right-clicked to “create clipping mask,” using the same “color” effect for these layers, as well.
Hope this gives you some ideas on how to use the graphics in The Hungry JPEG’s bundles, as well as other graphics you may have. Let me know if you have questions or need me to clarify any steps!
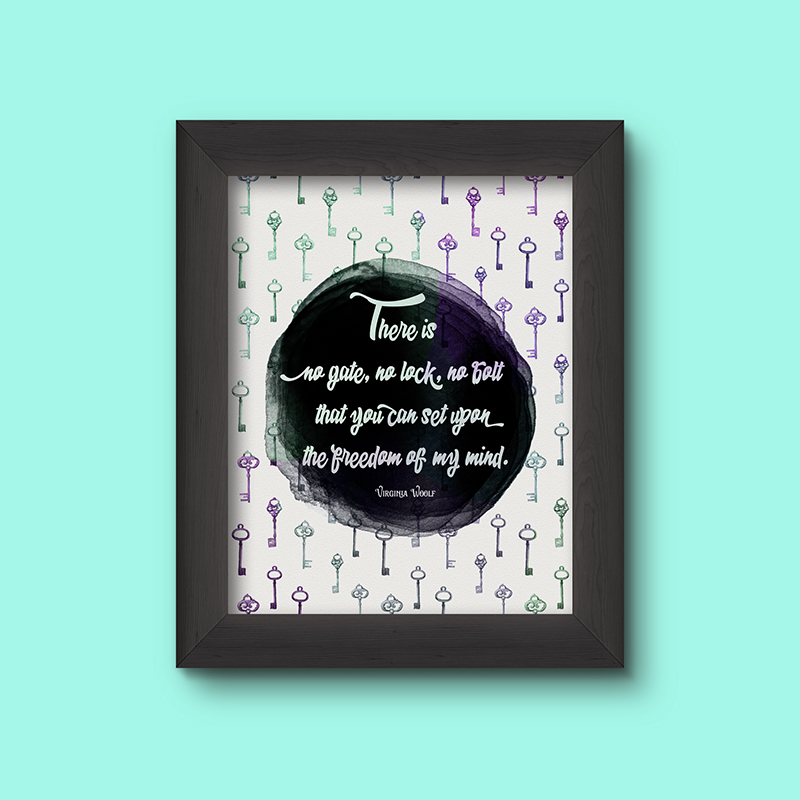
Virginia Woolf “Freedom of My Mind” Quote Free Printable
This is a high-res 8×10 PDF, for personal use only. If you’re not sure whether you can use it for a certain project, ask.

(Keep in mind you get 10% off if you choose to tweet on the sale page.)
Fonts used: Natasya Regular + Open Type features & Sortdecai Display
Pattern used: Secret Garden Key Pattern #1
Brushes used: Watercolor Splotches
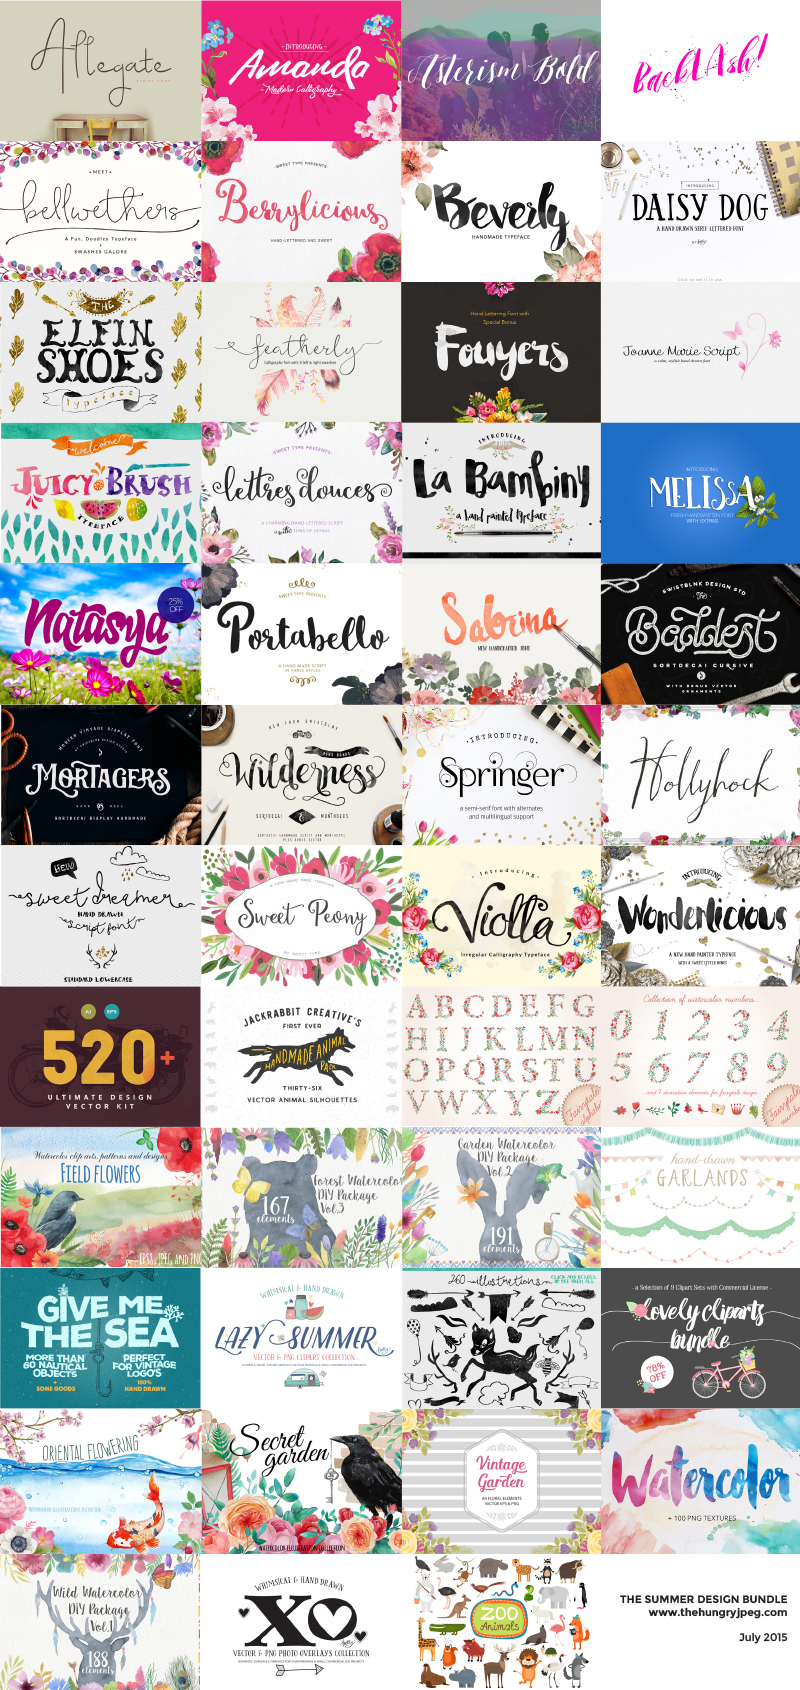
A sneak peak at the rest of this sweet bundle:
All content and opinions expressed here are all my own. I only partner with brands that I know, use & love myself. I hope you like them, too!