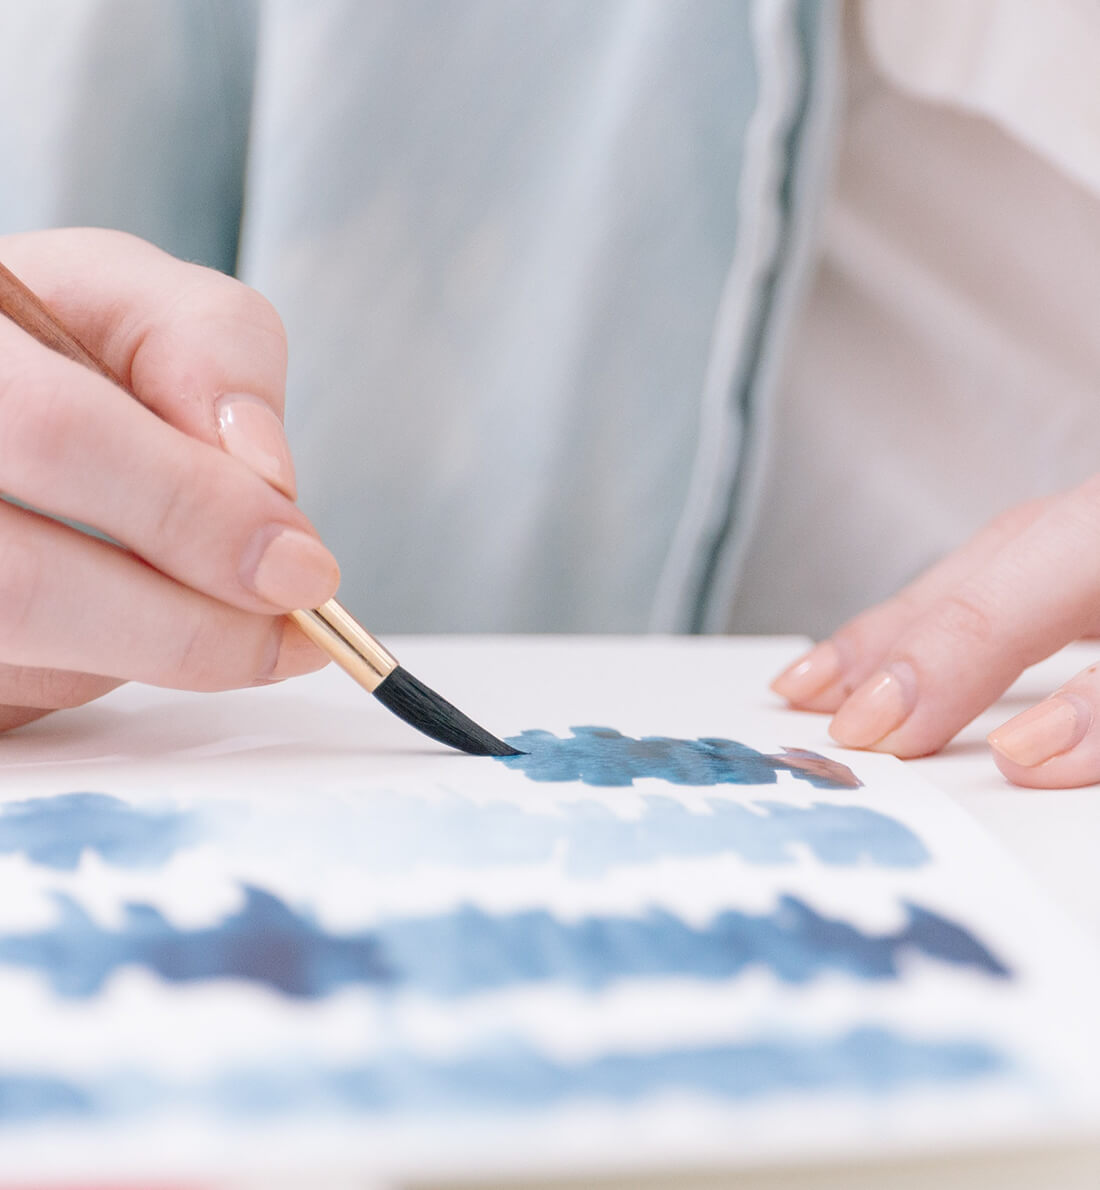
One cool thing about having an almost-2-year-old is the real enthusiasm to create and paint.
She wakes up with painting on the brain, and it’s even renewing my love for the medium — though I have to admit I had a brain block at first to put brush to paper again.
It’s funny how daunting it can feel to paint something when you’re out of practice.
So if you’re one of the many people who cringe inwardly when someone suggests that you DIY your own wall art, I hear you. You imagine the multitude of “nailed it!” memes and see your own hacked version going viral. Whew.
Good news for you: I found 14 wall art DIY ideas that will actually look legit when you’re done with them.
While you’re scrolling through, pick and choose your faves based on decor style and how many/few supplies you’ll need.
TIP: What’s your signature decor style? Check out these posts to find out more about each style and the signs that it might be for you: modern farmhouse, modern boho, midcentury modern, modern glam, modern coastal, industrial, minimalist
Let’s get started!
Wall Art DIY Ideas
1. The Blow Out
Prop up any canvas, add pourable acrylic paint in your choice of colors and blow dry the paint around to your heart’s content! Couldn’t be easier!
If you want lighter artwork, use more white. If you want darker artwork, use less white. Use as many or few colors as you like.
- Supplies: Canvas, ready-to-pour acrylic paint, drop cloths or kraft paper + flat item(s) to rest your canvas on so the paint can drip off the sides, inexpensive blow dryer
- Decor Style: Boho, Modern Glam, Modern Coastal (if you stick with blues and whites), Minimalist (if you stick with neutrals)
- Details: The Handmade Home
2. The Pour Painting
This is just like The Blow Out, only without the blow dryer. Instead, you’ll pick up the canvas and rotate it until you achieve the look you’re going for.
Start by filling a cup with your colors — top (accent) color goes on the bottom, layering up till you have your base color on top — then pour in a figure 8 shape onto the canvas.
- Supplies: Canvas, ready-to-pour acrylic paint, drop cloths or kraft paper + flat item(s) to rest your canvas on so the paint can drip off the sides, disposable gloves to protect your hands
- Decor style: Modern Glam (especially if you use metallics, neons or pastels), Modern Coastal (if you stick with blues and whites), Minimalist (if you stick with neutrals)
- Details: Sweet Red Poppy
3. The Boho Canvas
This one is a little raw, and you can make it as intricate or as simple as you want.
You’ll take unstretched canvas, iron it out and cut the size you want for your wall, then cut a smaller piece for your shapes. Create a paint wash (one part acrylic, three parts water) and paint the canvas. Then use a pencil to create your shapes, cut them out and adhere them to the base canvas.
You can use iron-on adhesive or stitch the shapes on with a sewing machine.
Alternately, if you aren’t into the quilted look, you can paint abstract shapes directly onto the canvas! Use a dowel or clip to hang.
- Supplies: Unprimed/raw canvas, acrylic paint, pencil, iron-on adhesive
- Decor style: Boho, Minimalist, Modern Coastal (California boho vibes)
- Details: Paper & Stitch
4. The Tiny Squares
If making a huge piece of art is intimidating to you, this is just the project for you.
Cut small squares — more than you need — and use whatever art supplies you have on hand: paint, markers, glitter. Try to come up with a color palette ahead of time, though, so your final collage will be cohesive.
A paper trimmer is best for getting straight lines, but scissors will work in a pinch.
After you decorate your squares, arrange them how you like and fasten onto a full piece of art paper to frame.
- Supplies: Art paper, paper trimmer, paint/markers/glitter of your choice, tape & ruler for framing
- Decor style: Modern glam, Midcentury modern, Industrial
- Details: The Crafted Life
5. The Color Block
If you love the look of modern art, you’ll like this tutorial, which walks you through the steps of creating a color block piece that uses heavy paint mixing and layering.
You’ll also use a drywall spatula to create texture and blend the colors.
- Supplies: Canvas, heavy acrylic paint, drywall spatula, wide painters brush
- Decor style: Midcentury Modern, Modern Glam, Industrial
- Details: A Beautiful Mess
6. The Faux Rothko
Are you a fan of Mark Rothko’s color field paintings? Here’s a chance to put your spin on it.
This tutorial is my favorite kind: It uses thrifty supplies and has a high-end result. You can use cardboard and light paint for this high-contrast look, or you can use traditional canvas. It’s all dependent on your personal preference.
- Supplies: Cardboard or canvas, acrylic paint, brushes
- Decor style: Midcentury Modern, Industrial, Minimalist
- Details: Dans Le Lakehouse
7. The Modern Line
You can make this one as difficult or as easy as you’d like.
On the easy side, use a piece of art paper. Make a continuous line shape with a pencil, making sure to create small and big loops alike for variance. Then use various colors to paint in each section for a very modern look.
On the harder side, start with plywood and use a pattern download, plus frisket film and spraypaint.
Me? I’ll try it with items I have on hand first!
- Supplies: Canvas, acrylic paint, brushes, pencil to create your shape
- Decor style: Midcentury Modern, Industrial, Minimal
- Details: Better Homes & Gardens (for the harder tutorial)
8. The Layered Brush
This technique starts with a pink base and layers colors softly atop one another. The layers should be thin to build up a mix of color. Acrylic will blend together, so be sure to let each layer dry first if you want more distinct colors to stand out.
You may use any colors you want, but to re-create this vibe, you’ll need pink, red, green, blue, yellow, navy blue and white.
- Supplies: Canvas, acrylic paint, brushes
- Decor style: Modern Glam, Modern Farmhouse
- Details: Brit + Co
9. The Potato Stamp
I love a good, imperfect pattern. This technique, created by Rebecca Atwood for Emily Henderson, uses a cut potato dipped in paint to create a striking but timeless piece of art.
For more variation, try a few different (but still similar) paint colors, and change up the amount of paint saturation throughout.
- Supplies: Potatoes, canvas, acrylic paint
- Decor style: Modern Coastal, Boho, Modern Farmhouse
- Details: Rebecca Atwood
10. The Budget Wood Block
For this project, you’ll measure out equal strips of foam board to fit on your wood block, then stamp your art paper, reapplying paint every two stamps.
The piece de resistance is the color block — the example is a rectangle the shape of the wood block, but I think it would be fun to make a triangle, circle or organic abstract shape.
- Supplies: Wood block, self-adhesive foam board, craft knife, ruler, cutting mat, art paper, acrylic paint, brushes
- Decor style: Modern Coastal, Industrial, Midcentury Modern, Minimal
- Details: Remodelista
11. The Mid Century
This is one of my favorites. So simple, so timelessly cool.
On your canvas, you’ll create 2-3 random, wavy lines with some painters tape, then paint the sections using 3-4 colors of paint.
- Supplies: Canvas, acrylic paint, painters tape
- Decor style: Midcentury Modern, Boho, Modern Farmhouse, Modern Glam
- Details: Harlow & Thistle
12. The Golden Touch
What makes this technique different is that it is heavy — I mean HEAVY — on texture.
You start by applying acrylic gesso to the canvas to start with a layer of texture. Then you add chunks of gold foil flakes to make the piece stand out. Finally, you pile on the layers of paint with a cardboard piece to ensure even more texture.
- Supplies: Drop cloth or kraft paper, canvas, acrylic gesso, acrylic paint, large painters brush, cardboard pieces to apply paint imperfectly, gold foil flakes, Elmer’s glue
- Decor style: Modern Glam, Modern Coastal
- Details: Lolly Jane
13. The Taped Geometric
The Taped Geometric is a precise little piece that has big impact for minimal effort.
Use a ruler to help create straight lines for your painters tape, then use a few different colors of acrylic paint to differentiate the blocks. Voila!
Canvas (I used a scrap piece of plywood and drilled a hole in the back to hang)White acrylic paintGrey acrylic paintPink acrylic paintCopper spray paintRulerPencilPainter’s tapePaint brushes/rollersScrap paper
- Supplies: Canvas, acrylic paint (white, gray, pink, copper or metallic), ruler, painters tape, brushes
- Decor style: Minimalist, Midcentury Modern, Industrial
- Details: The Felted Fox
14. The Watercolor Face
This is a piece I created with my oldest daughter several years ago, and we STILL love it and have it hanging on the wall today. Couldn’t be easier to do, and even better if you have a little one to do the watercolor work.
First, you create a graphic face with a Sharpie on art paper or canvas. Then use a limited watercolor palette to add life to your portrait. My kid drew “flowers” for cheeks and added a nose. I love these details — it’s so much fun to see what kids will come up with on their own.
- Supplies: Art paper or Canvas, Sharpie marker (fine tip), watercolor set
- Decor style: Modern Glam, Midcentury Modern, Boho
Wall Art DIY Ideas: Find Complementary Art
If you need complementary art for your original DIY to fill out a gallery wall, you’ve come to the right place:
• My ultimate free printables resource page!
• Premium printable art in the Little Gold Pixel shop. Download, print and hang it today!
• Don’t know where to start? Book a consultation!
Wall Art DIY Ideas: Save for Later
Pin to find this post later!
